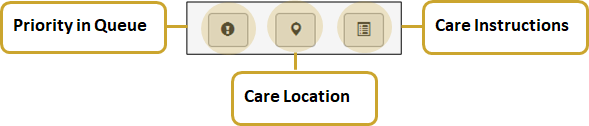
Priority in Queue, Care Location and Care Instructions Buttons in the Patient Presentation and Triage Assessment Screens
The buttons in the bottom left of the Patient Presentation and Triage Assessment screens allow you to indicate priority in queue, care location and care instructions for a patient.
|
Important: Priority in Queue, Care Location and Care Instructions details will carry forward to both the Pretriaged Patients Queue as well as the Triaged Patients Queue. i.e. details entered via the Patient Presentation (Pretriage) screen will appear on the Pretriaged Patients Queue and then appear in the Triaged Patients Queue once the patient is triaged. During the Triage Assessment, there will be a visual indicator that there is information entered in these fields. |
Priority in Queue
To indicate a patient as a priority in queue:
- Click the button.

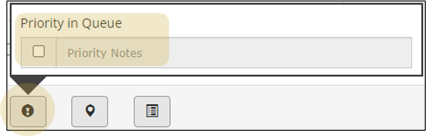
- Check off the Priority In Queue box.
- Enter Priority Notes if needed in the text box. For example, next cardiac bed for chest pain.
|
When priority is indicated, a grey icon will appear in the Priority Column of the Pretriaged and/or Triaged Patients Queue. When Priority Notes have been entered, the icon will display in orange. Hovering over the icon will display priority notes entered. |
Care Location (CL)
- This feature is used by the nurse to indicate the appropriate patient care area, not where the patient is currently located e.g., fast track, family crisis area
- If a Care Location is chosen, a letter will appear in the Care Column of the Pretriaged and/or Triaged Patients Queue. (e.g., F... for Fast Track).
- Hospitals may customize care locations. Consult with your eCTAS resources to confirm.
To indicate a care location for a patient:
- Click the button.


- Use the drop down list to select the appropriate care location configured for your hospital.
Care Instructions (CI)
- Clinicians may wish to note special care instructions (e.g., repeat vitals in 30 mins) using this feature.
- If Care Instructions details are entered, an icon will appear in the Care Column of the Pretriaged and/or Triaged Patients Queue.

To indicate care instructions for a patient:
- Click the button.

- Type care instructions into the text box e.g. repeat vitals in 30 minutes.